Interface Guide
Interface Overview
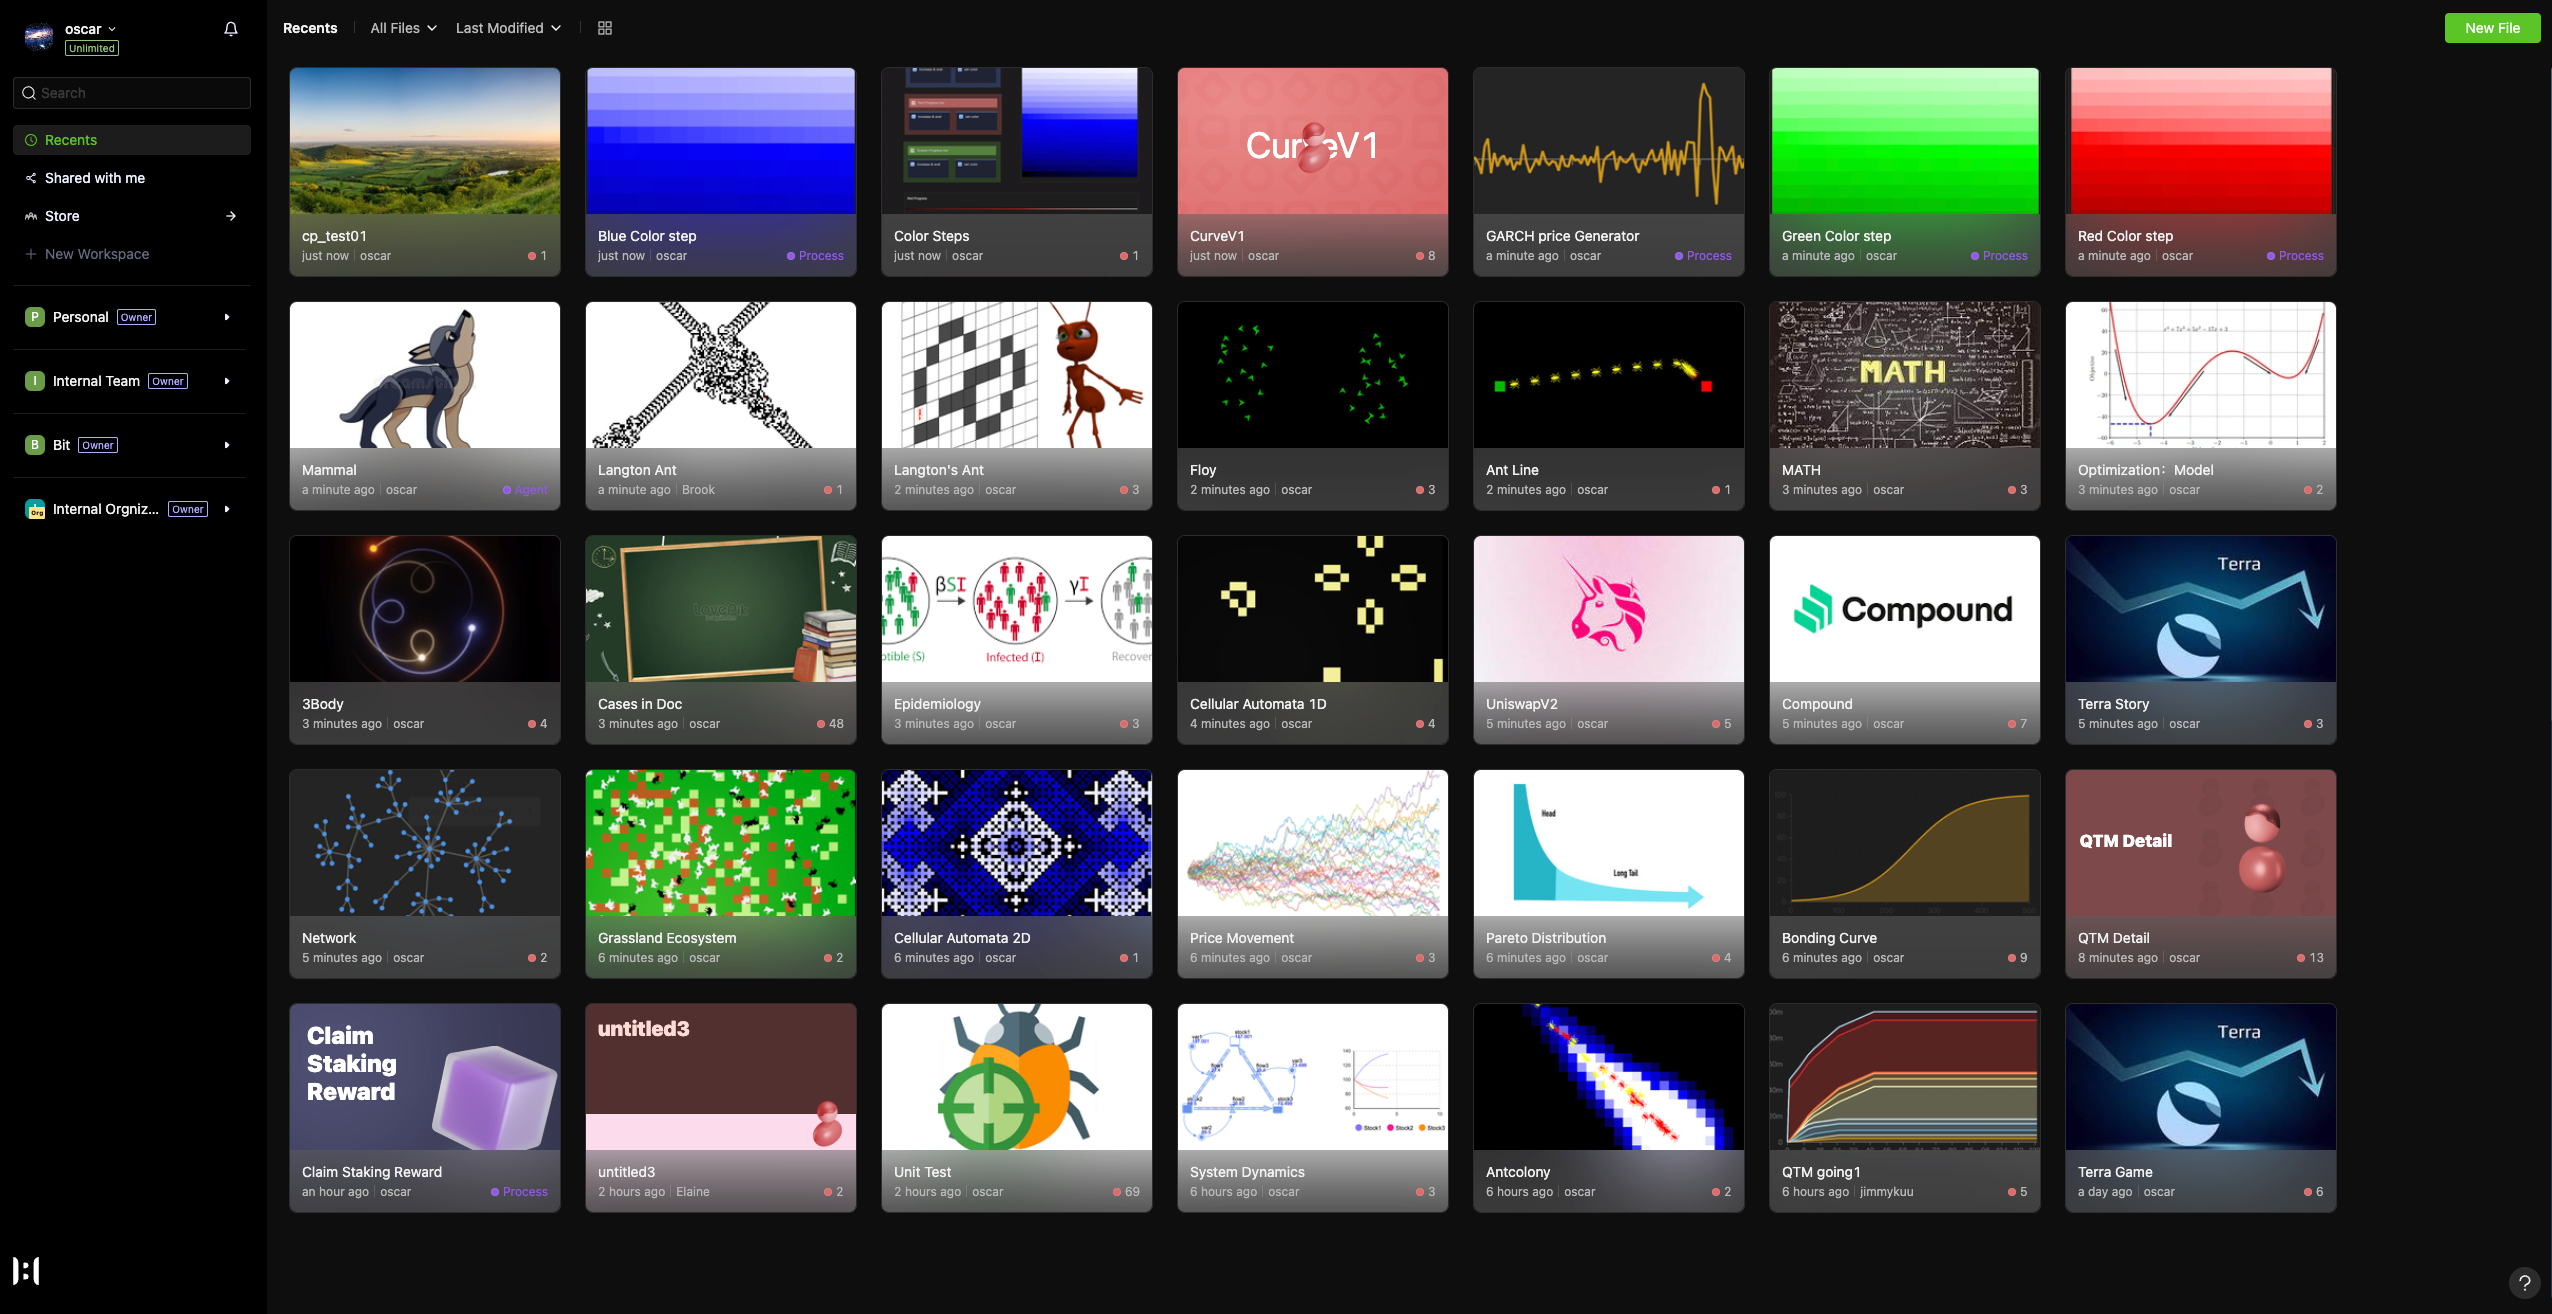
After logging into your account, you will arrive at HoloBit's main interface. By default, this page displays your most recently accessed files.
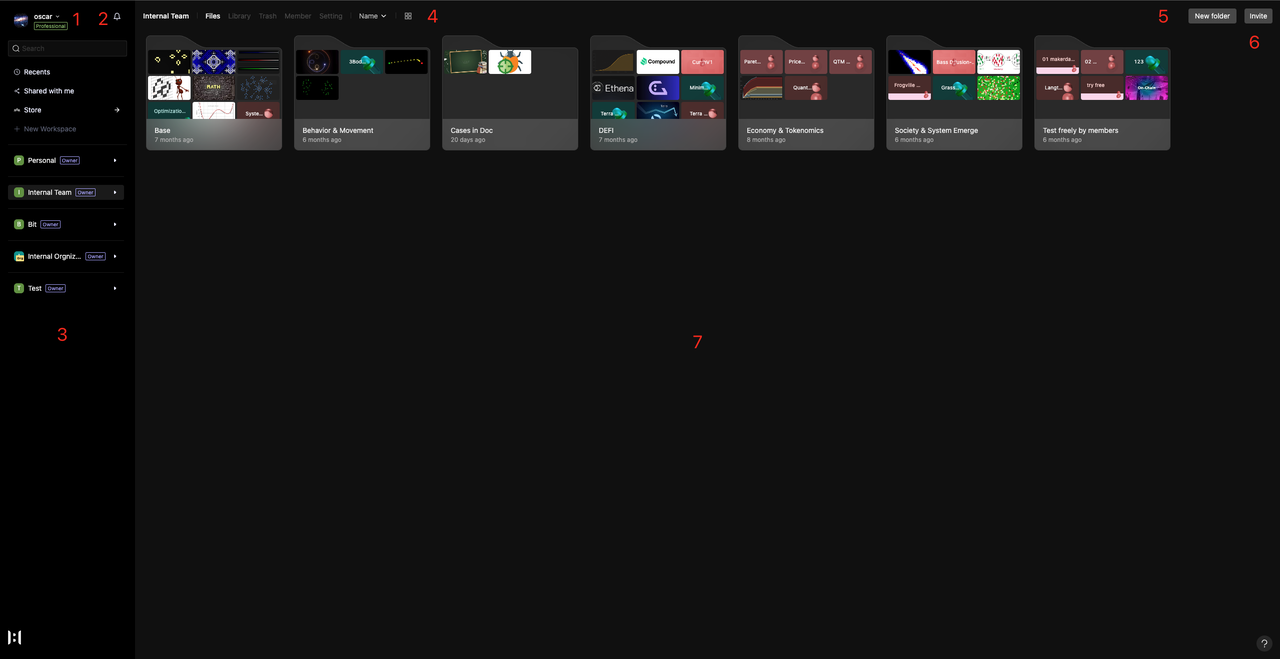
The screenshot above shows an example of entering the workspace.
3. Management Navigation Sidebar
This chapter focuses on what you see on the screen—the interface elements and how to use them.
To understand the "why" behind these elements, such as the concepts of Workspaces and Folders, please see our guides on:
1. Personal Center
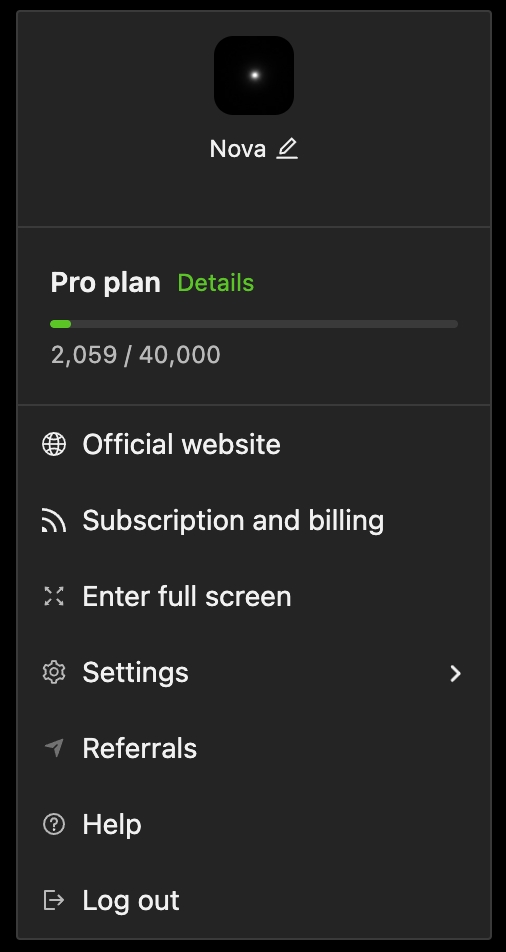
Click on your avatar in the top-left corner to open the Personal Center menu. Options typically include:
- Profile
- View and edit your nickname, avatar, etc.
- Subscription plan overview
- Check your current plan, resource usage (e.g., component count against limits).
- Upgrade your plan.
- Official website
- Navigates to the HoloBit official website.
- Subscription and billing
- Access the Subscription & Payment page to manage your plan and payment details.
- Enter full screen
- Settings
- Change your password
- Switch the interface language
- Referrals
- If eligible, click to copy your referral link to share. Successful referrals may earn HoloBit rewards.
- Help
- Log out
2. Notification Center
The Notification Center typically accessed via a bell icon, displays various system notifications:
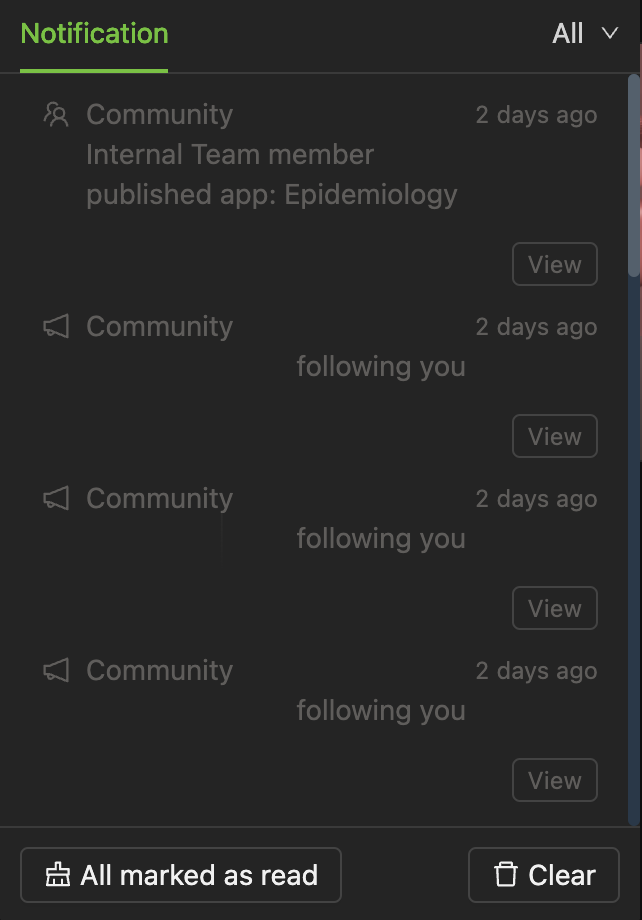
- View System Information
- See updates, alerts, and other platform notifications.
- Mark as Read
- Clicking an unread notification usually marks it as read.
- Options to "Mark all as read" or "Clear" notifications are often available.
- Quick Actions
- Some notifications may offer quick actions, such as accepting a team member's join request.
3. Management Navigation Sidebar
This sidebar provides primary navigation and quick access to different parts of HoloBit.
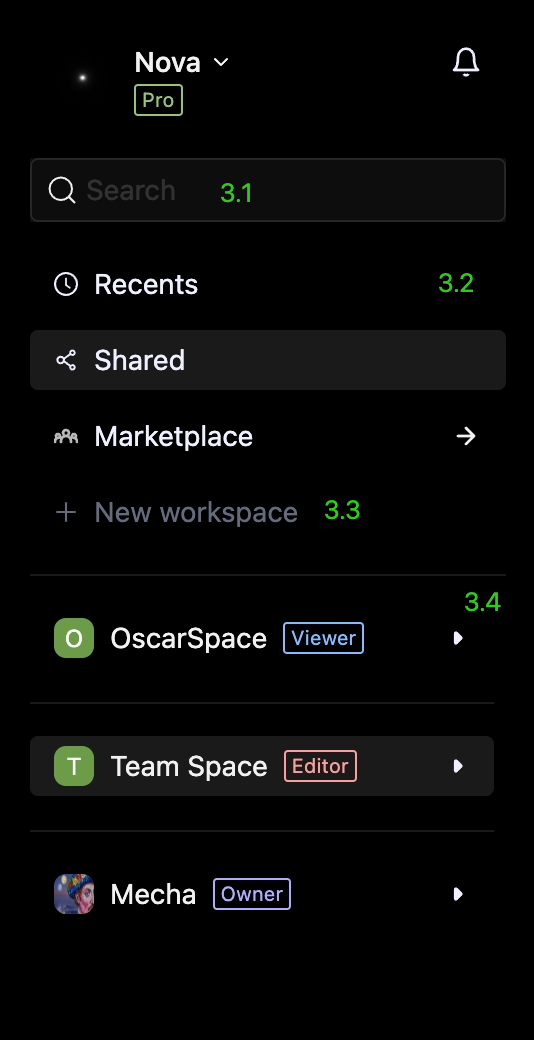
3.1 Global Search
-
Functionality: Search for files (models, blocks, experiments, etc.) across all your workspaces.
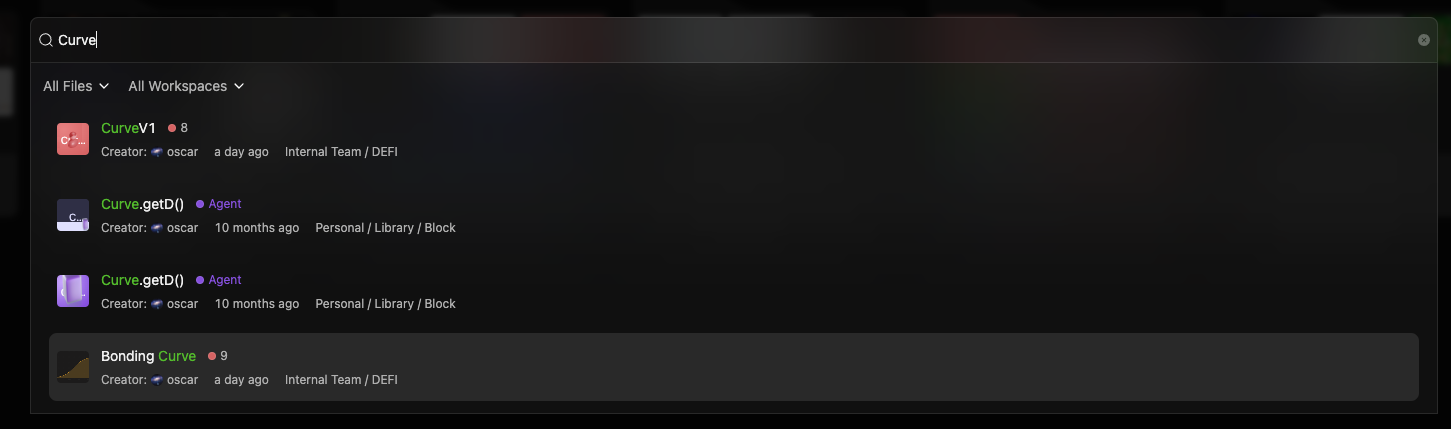
-
Usage: Click the search bar, type your query, and select a result from the dropdown to navigate directly to it.
3.2 Quick Access and Navigation
Recents
- Displays a list of files you've recently accessed across all workspaces, ordered by time.
- Click any file to go directly into file editing.
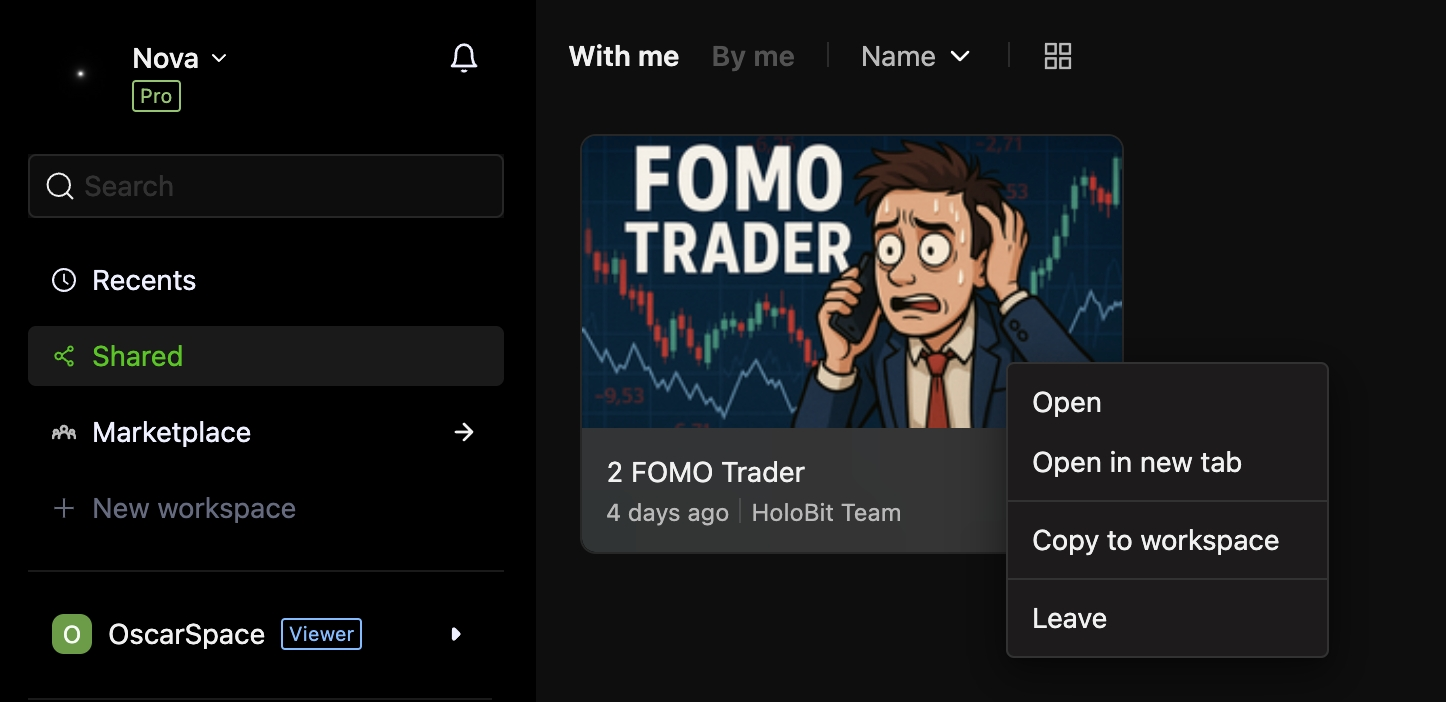
Shared with Me
- Lists files shared with you by other users for collaboration. Click any file to go directly into file editing.
- Leaving a Shared File:
- To stop collaborating on a file, right-click it and select "Leave".
Marketplace
Navigates you to the HoloBit Marketplace where you can find and share reusable models and blocks.
3.3 New Workspace
- Click the + New Workspace button to open the New Workspace dialog box.
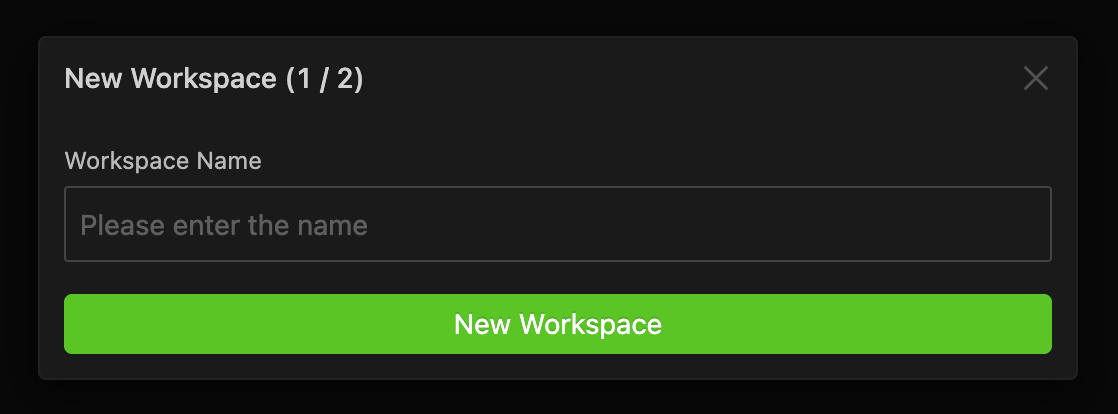
- Enter your workspace name.
- Click the New Workspace button in the dialog to create it.
The number of workspaces you can create may depend on your HoloBit subscription plan.
3.4 Workspace Navigation
All the workspaces you created or joined are displayed here, as shown below.
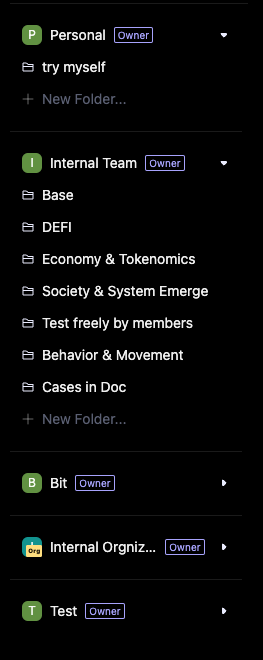
- Expand/Collapse: Click the right triangle arrow next to a workspace name to expand it, allowing you to view all the folders within that workspace, as shown above.
- Workspace Tabs: Clicking a workspace name loads its content into the Main Content Area and updates the Workspace Header with relevant tabs (Folder, Library, etc.). By default, the "Folder" tab's content is displayed.
4. Workspace Header
-
When you select an item from the sidebar (like "Recents," "Shared with Me," or a specific workspace), the header updates to show the name of the selected view.
-
If you select a workspace, the header typically displays tabs for different content categories(as shown below).

4.1 Folder
Click the "Folder" Tab to view all folders within the Workspace. By default, they're in card view.
Create a Folder
Click the "New folder" button in the upper right corner to open a creation dialog.

Manage Folders
Right-click a folder to open its context menu: Open, Rename, or Delete.
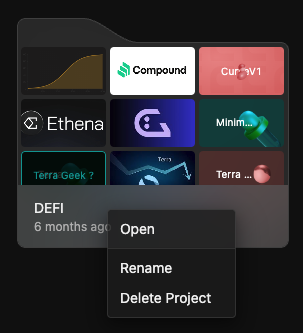
Deleting a folder moves both the folder and all its contents to the Trash, where they can be restored for a limited time.
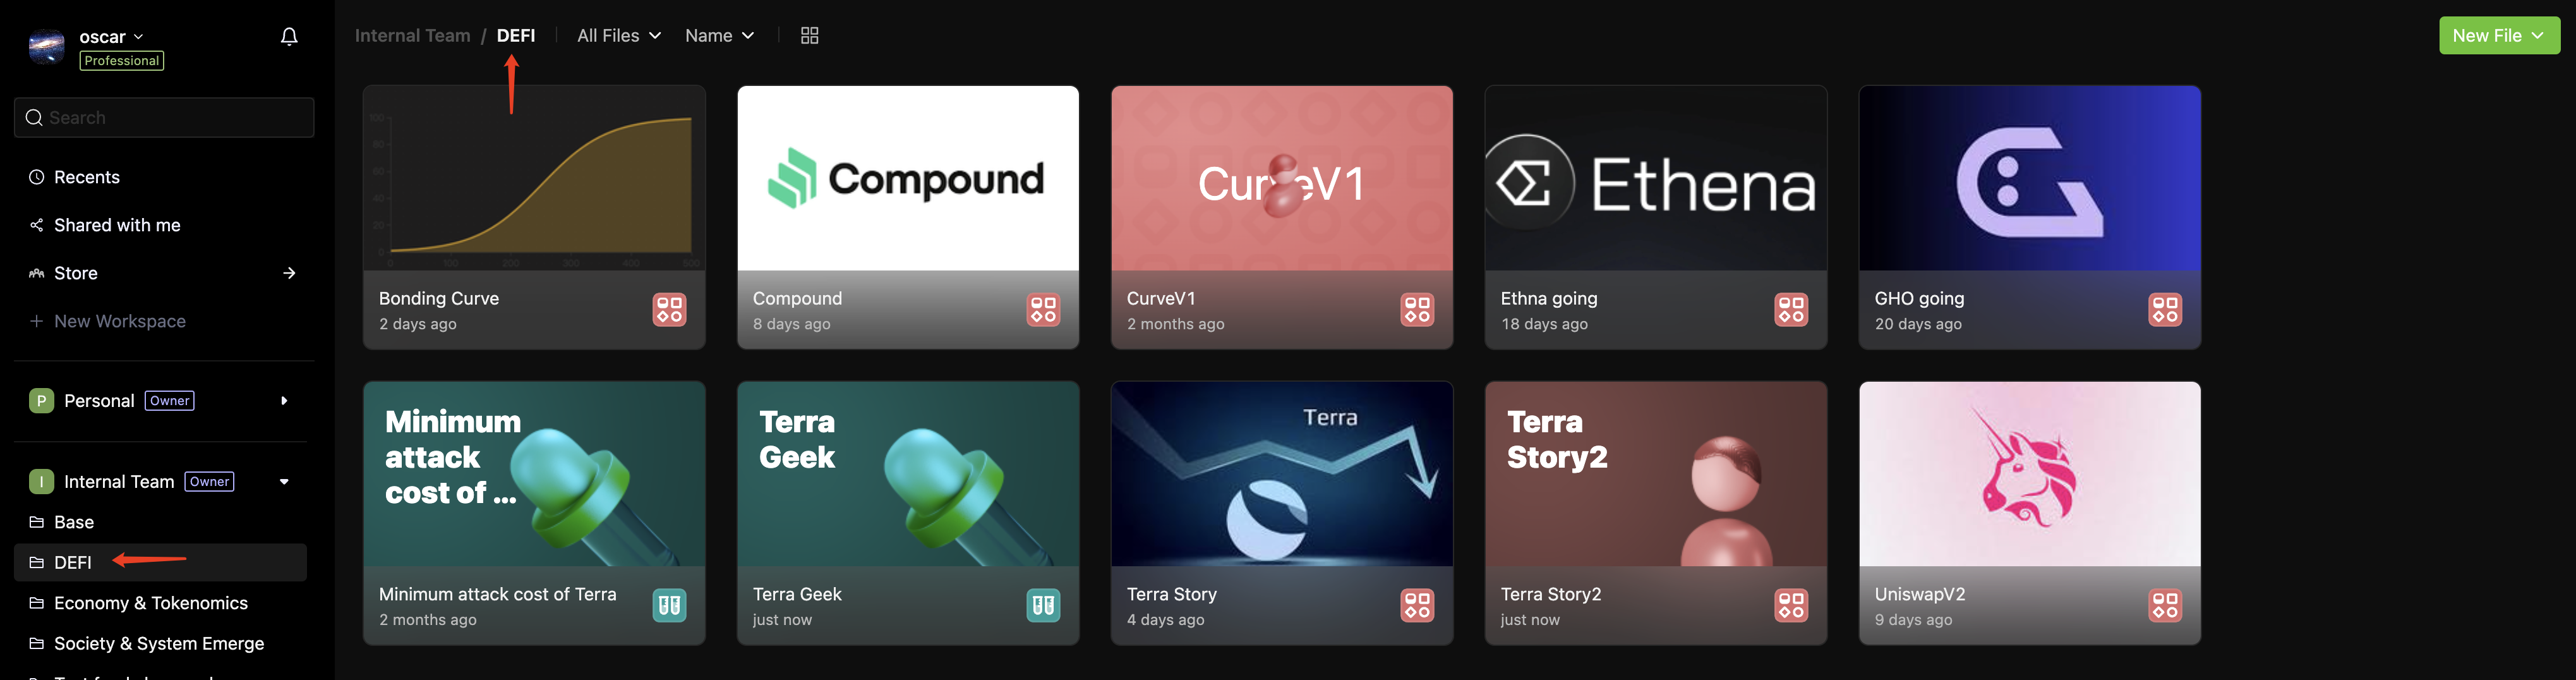
Access Files from the Folder Cover
In card view, you can see file thumbnails inside the folder cover. Click a thumbnail to directly access file editing.
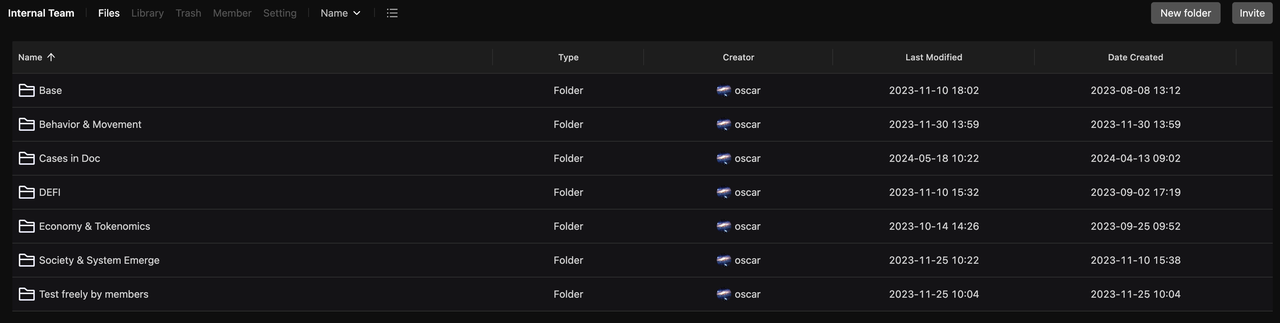
Inside the Folder
Click the folder in the left sidebar or the workspace content area to view all files within the folder, where you can manage as needed.
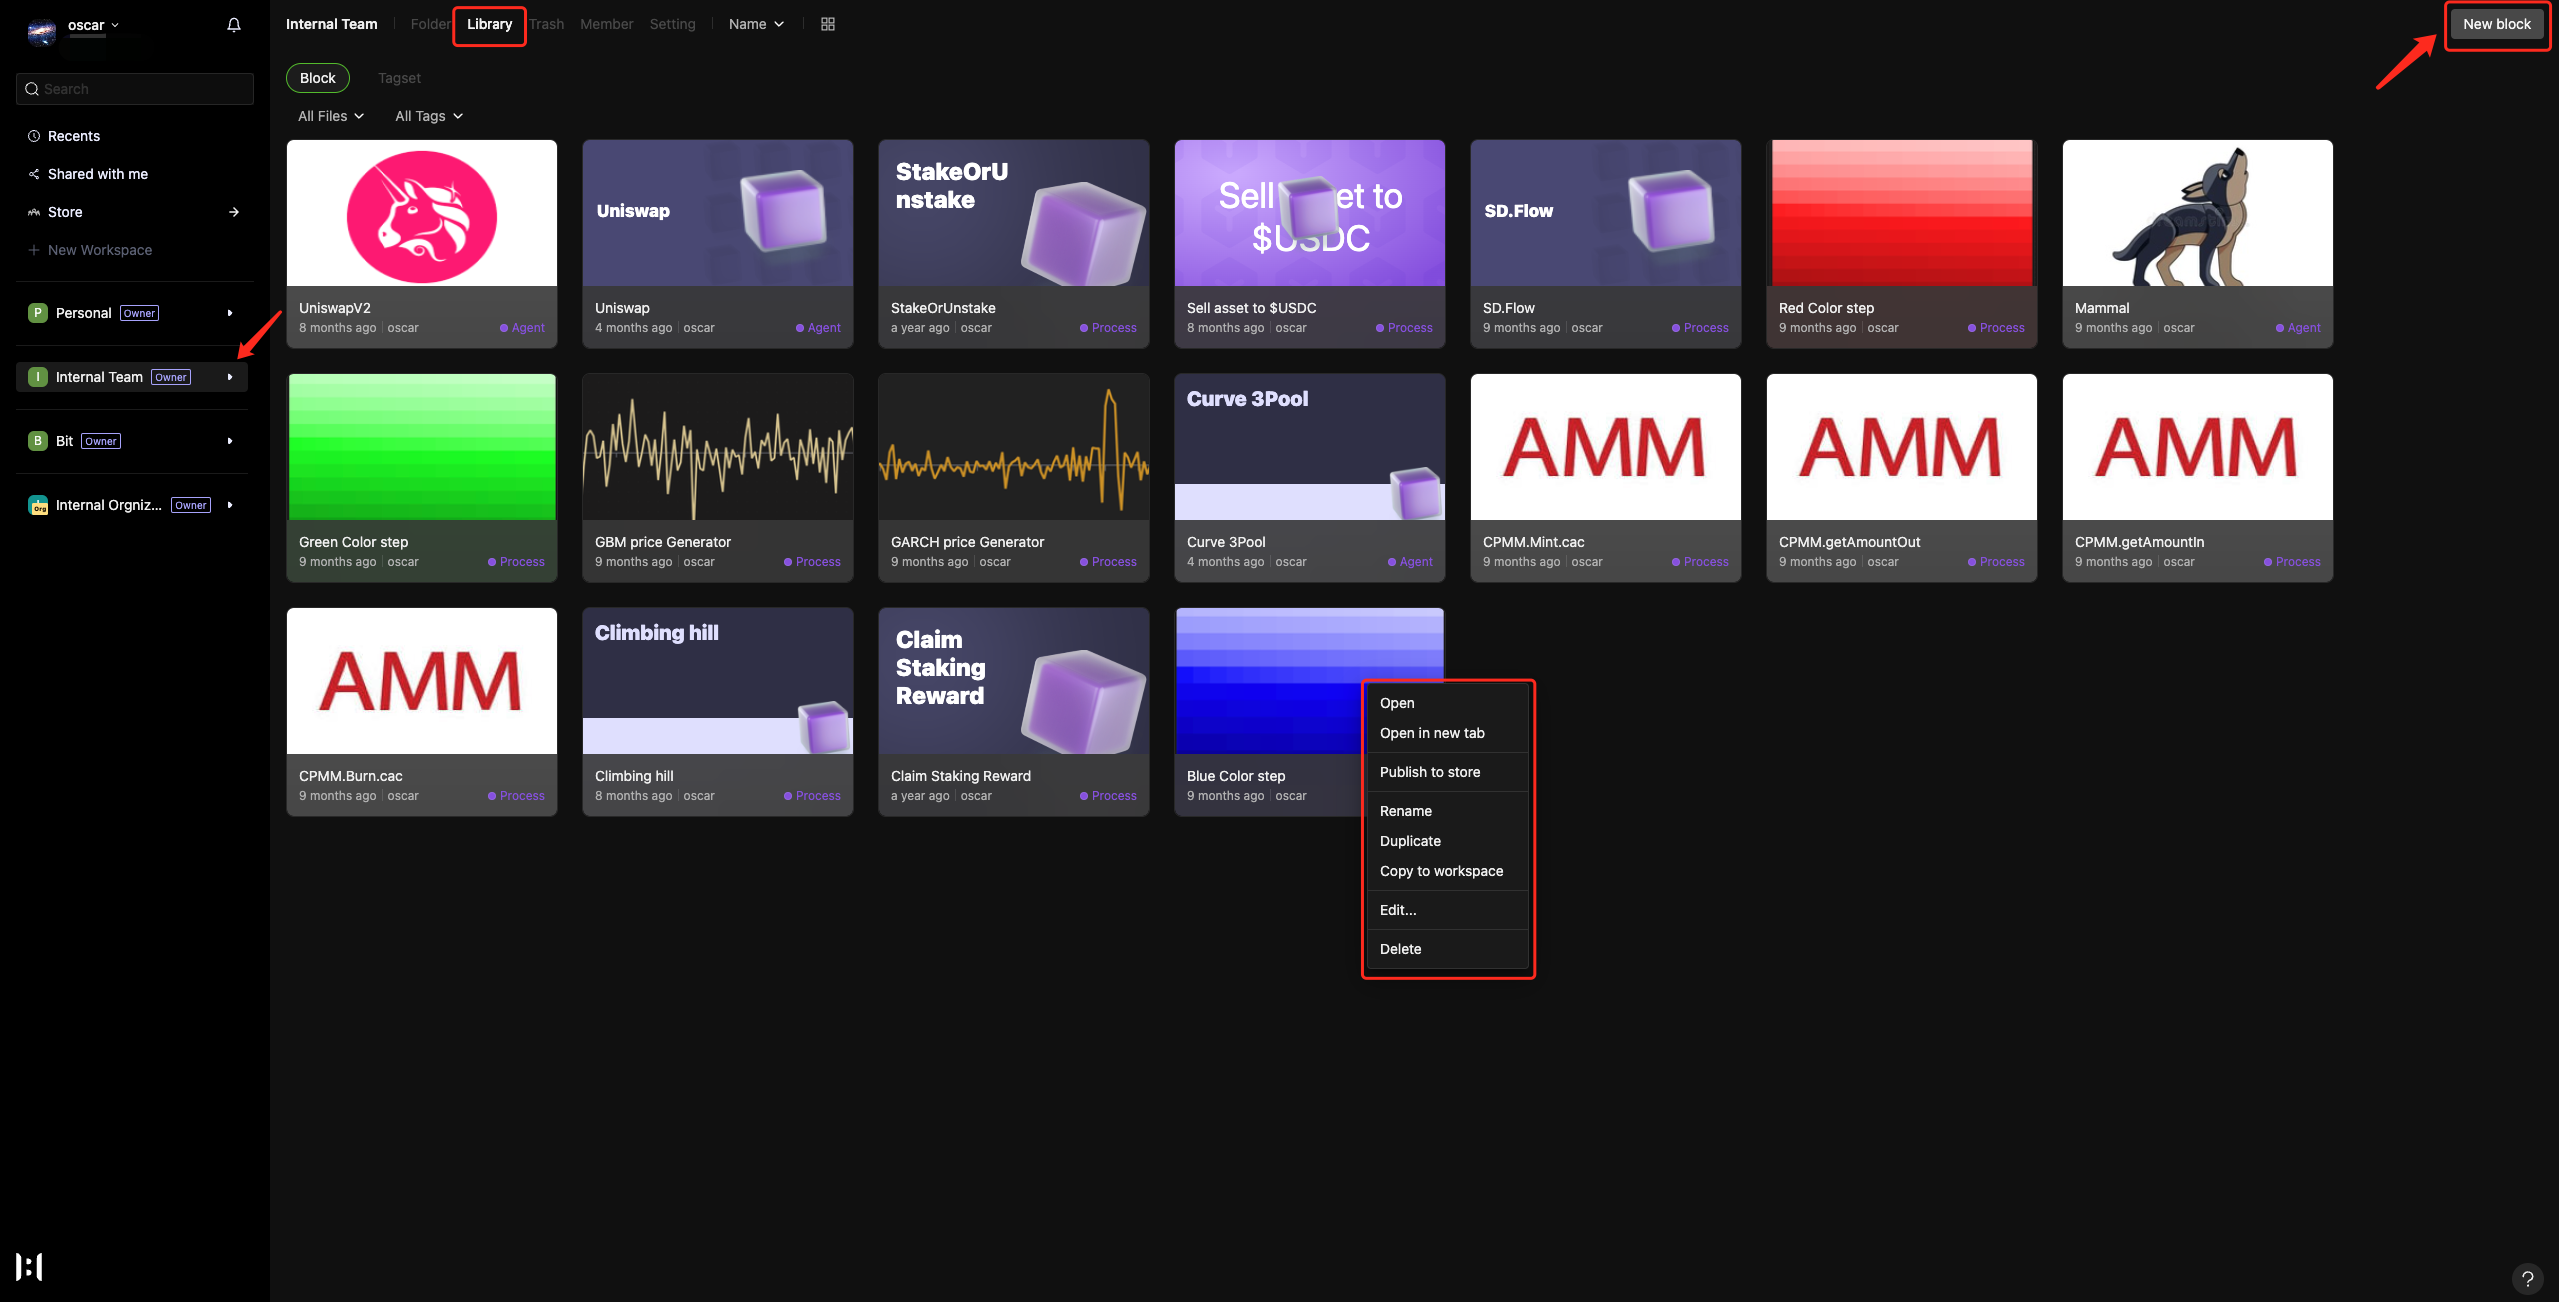
4.2 Library
Click the "Library" tab to view all blocks and tag sets within the workspace. Here, you can find two secondary tabs, "Block" and "Tagset". By default, you'll be directed to the "Block" tab.
Block
Under the "Block" tab, you will find all the blocks in your workspace and be able to manage them using the options available in the right-click context menu.
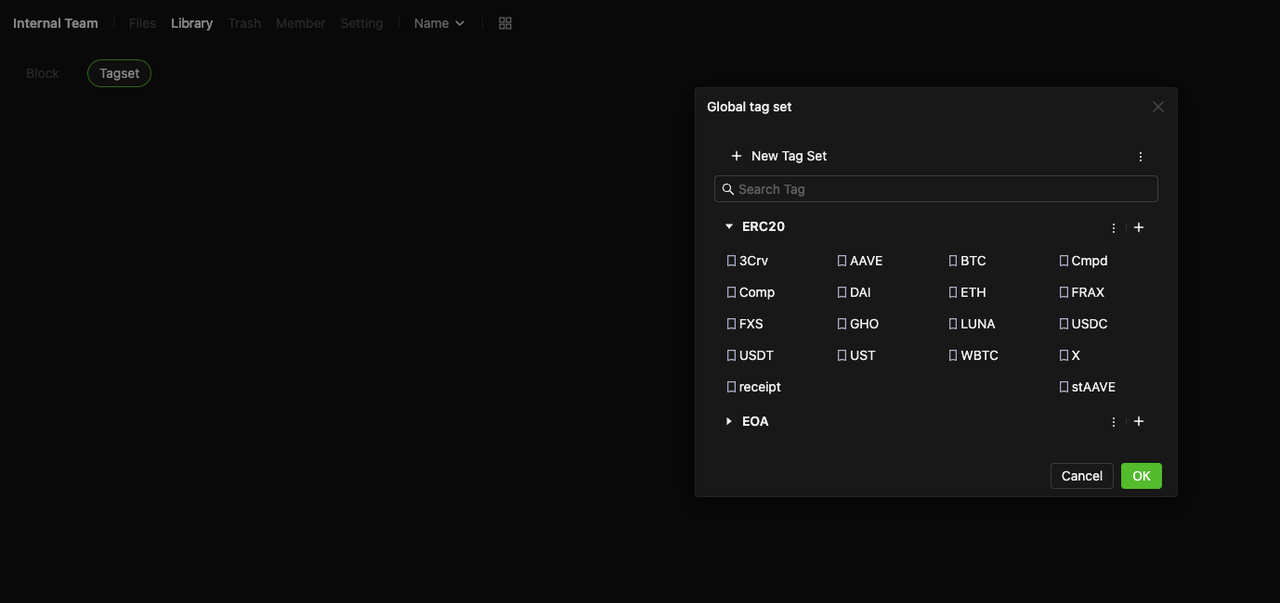
Tagset (Global Tag Sets)
Click the "Tagset" tab to open the Global Tag Set editing interface, as shown below. This interface also supports the corresponding management operations.
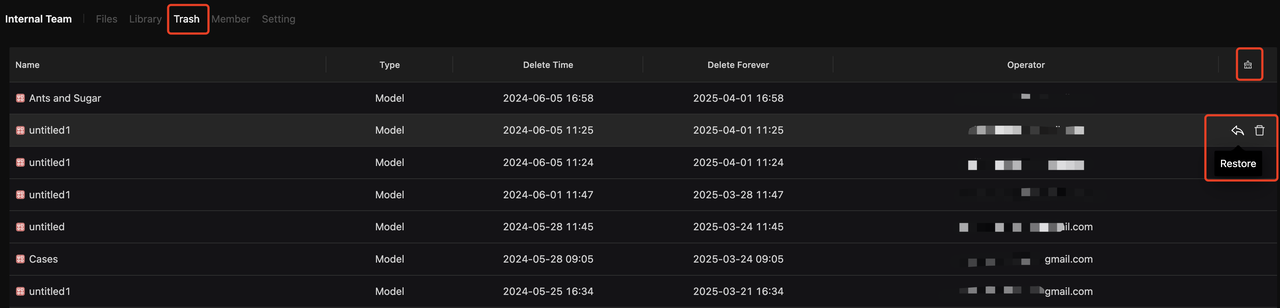
4.3 Trash
-
Deleted files are temporarily stored in the trash. If no action is taken, the system will automatically delete these files after a certain period.
-
You have the option to either restore or permanently delete files.
Files in the Trash are kept for at least three days. This duration may vary based on your subscription plan.
4.4 Member
Click the "Member" tab to see the list of all members and their permission roles in the workspace.
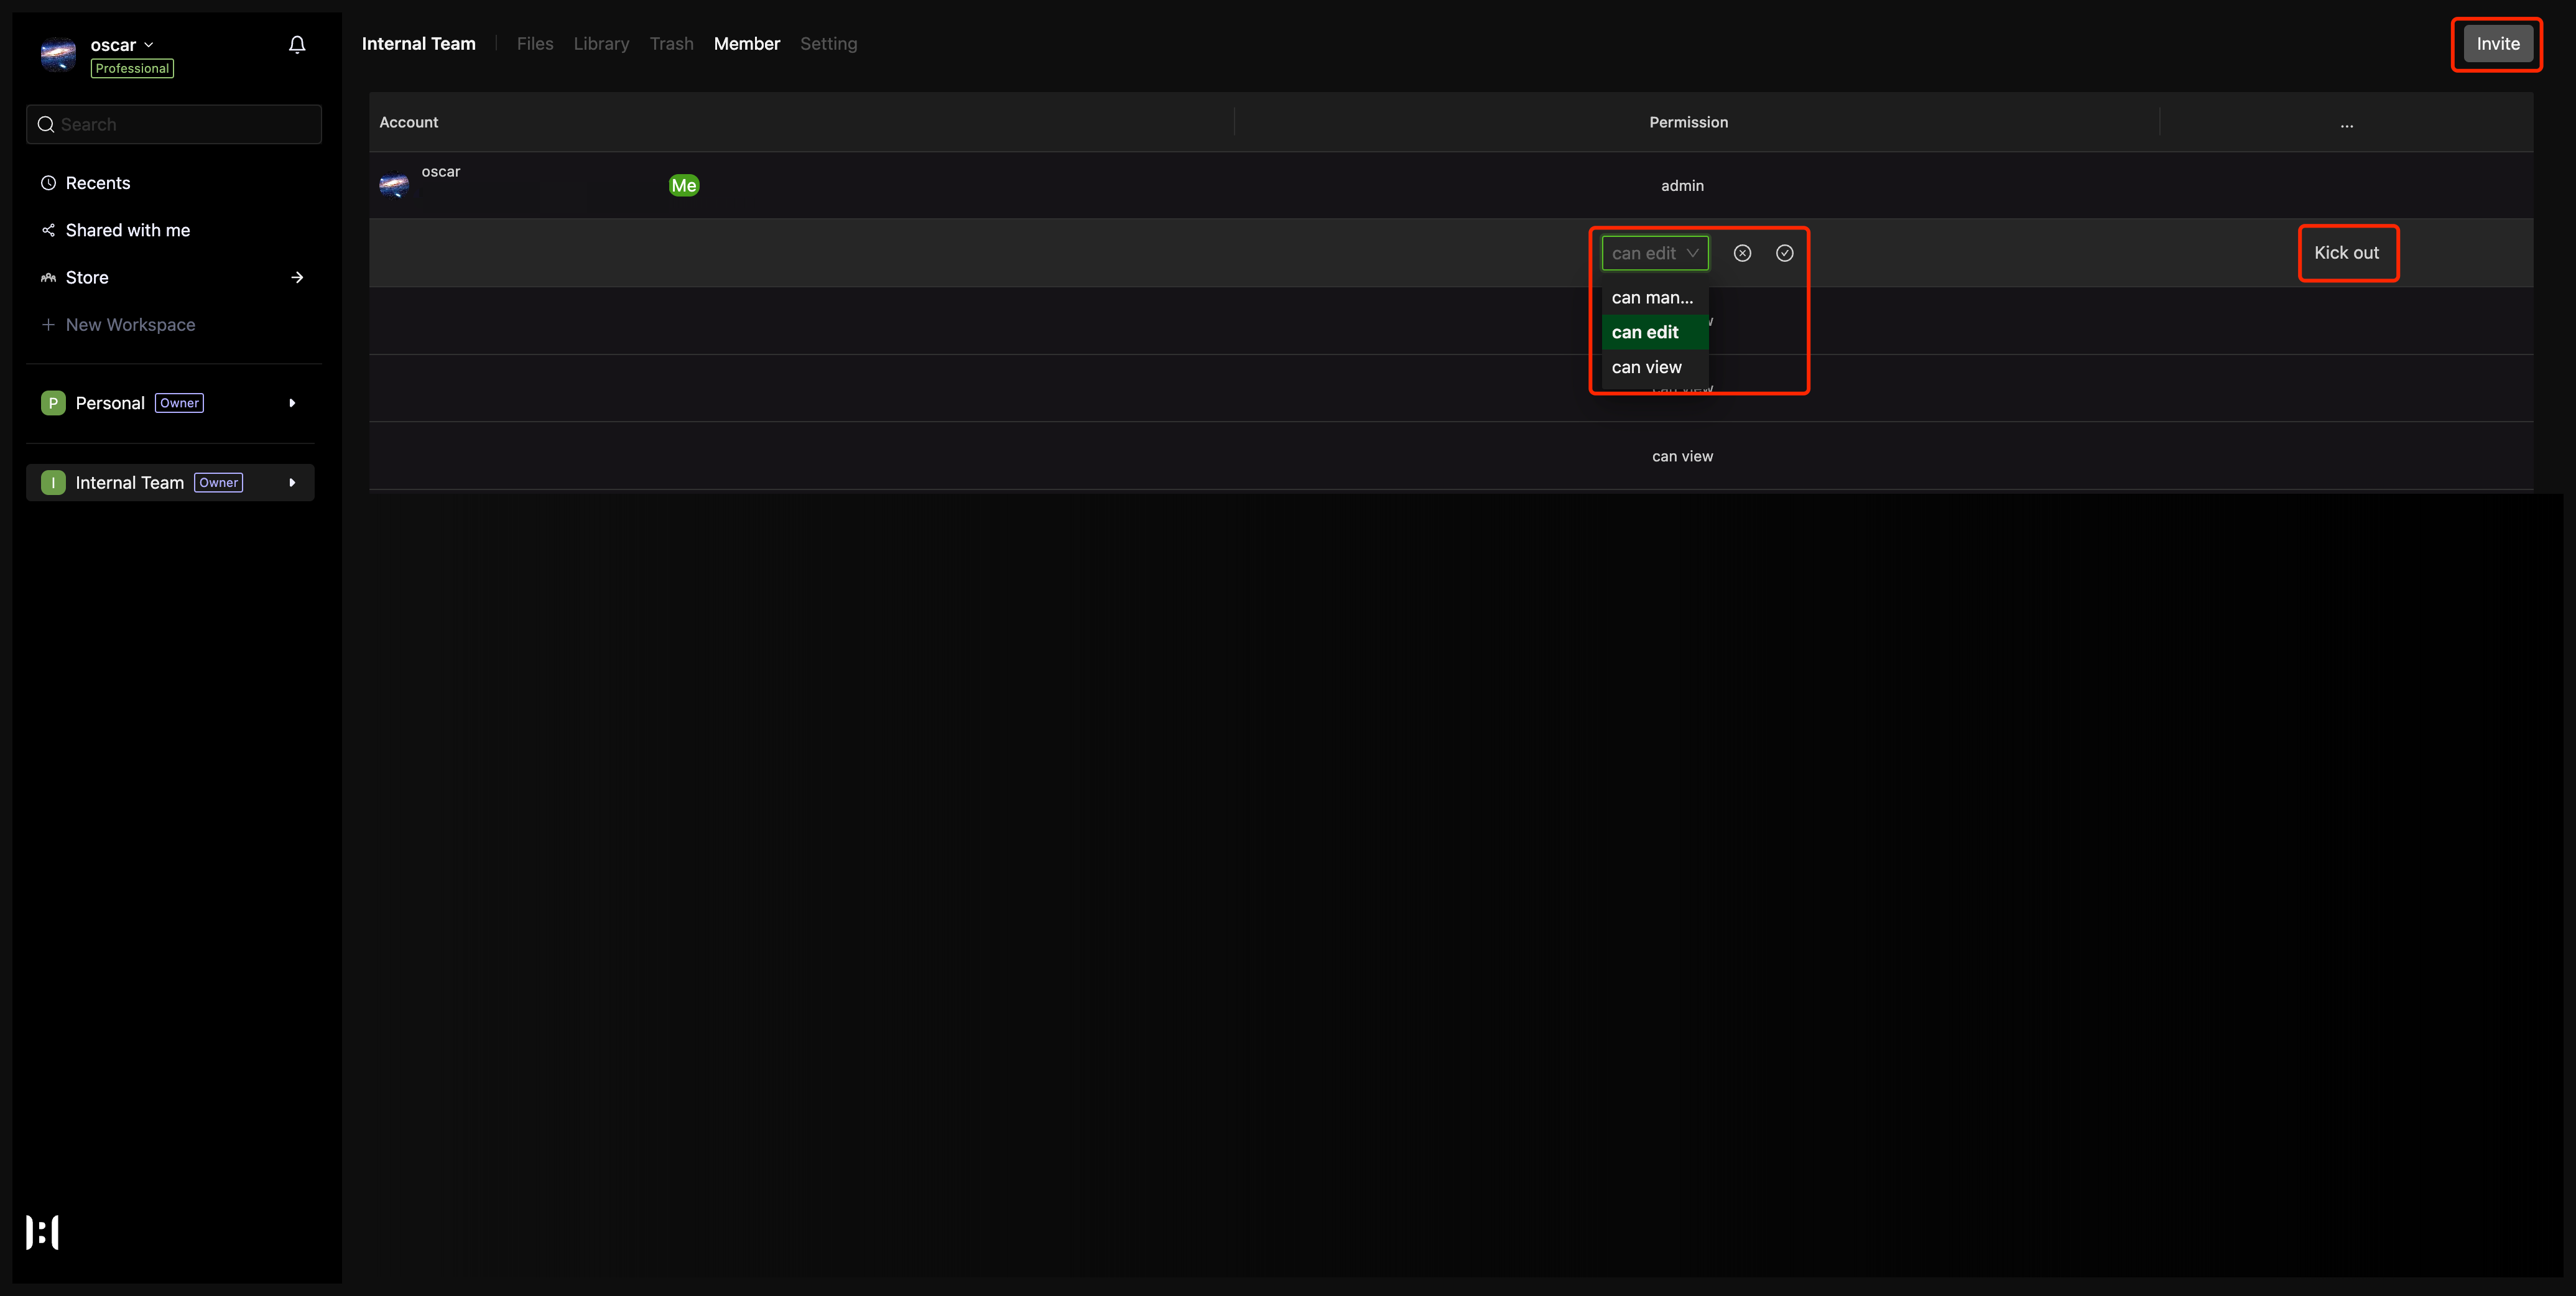
You can manage team members: invite new members, approve join requests, set member permissions, remove members, or leave the team.
The number of team seats depends on your subscription plan.
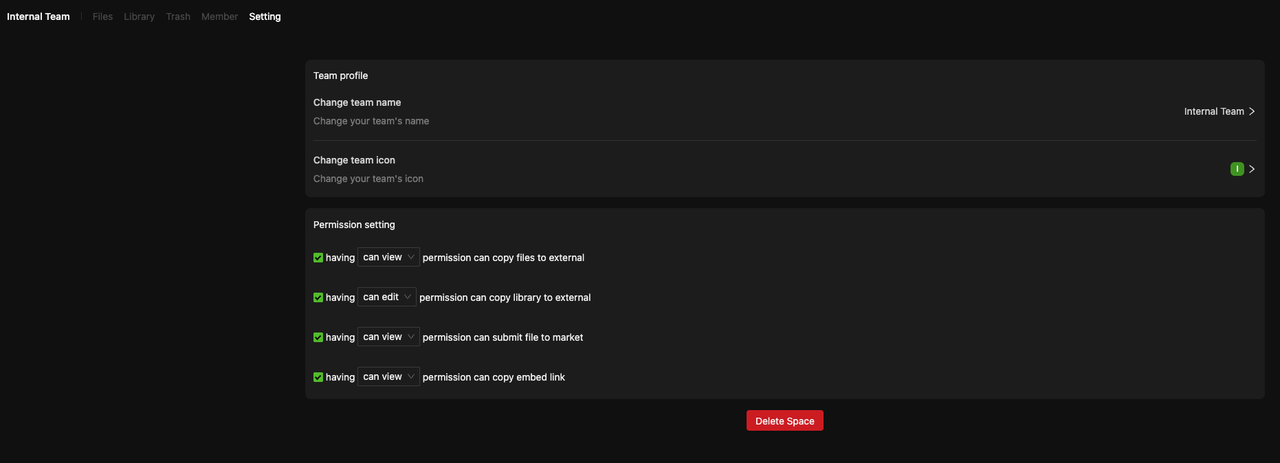
4.5 Workspace Settings
-
Change the team name
-
Change the team icon
-
Permission settings: Set the minimum role required to perform the following actions and enable or disable them as needed.
- Copy files to external
- Copy library to external
- Publish files to Marketplace
- Copy the canvas embed link
-
Delete a Workspace
- A "Delete Workspace" button opens a confirmation dialog.
- Requires correct entry of the workspace name to confirm.
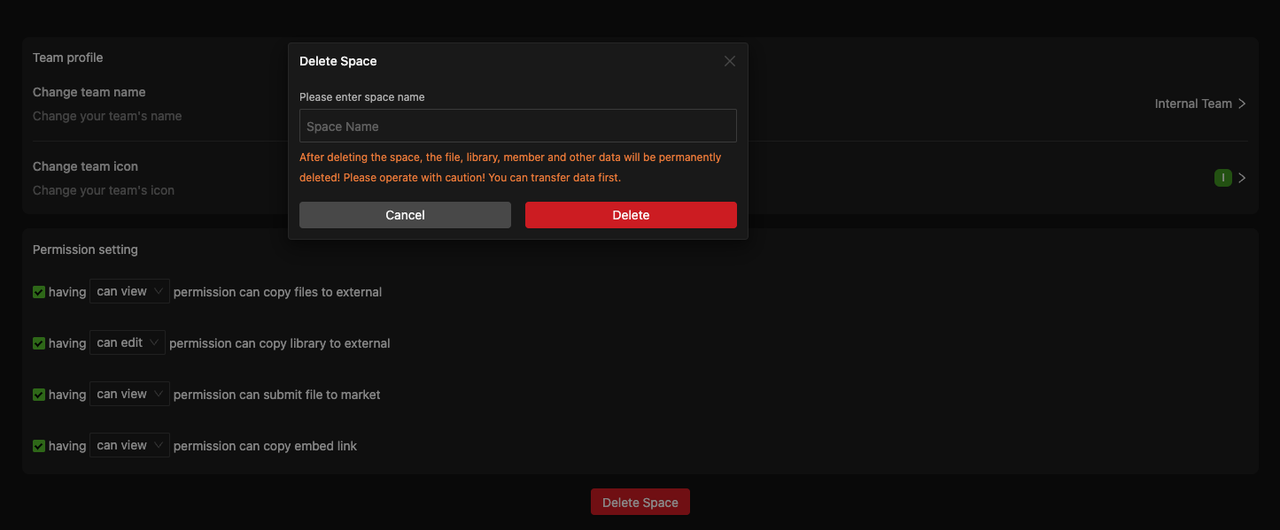 Important
Deleting a workspace permanently removes all its contents—including files, library, and member data—and cannot be undone.
4.6 View Options
- Choose how to sort your files.
- Switch between the Card view or the List view, as you prefer.
5. New Folder
This option is only available when the "Folder" tab is selected.
-
Click the button to open the New folder dialog box.
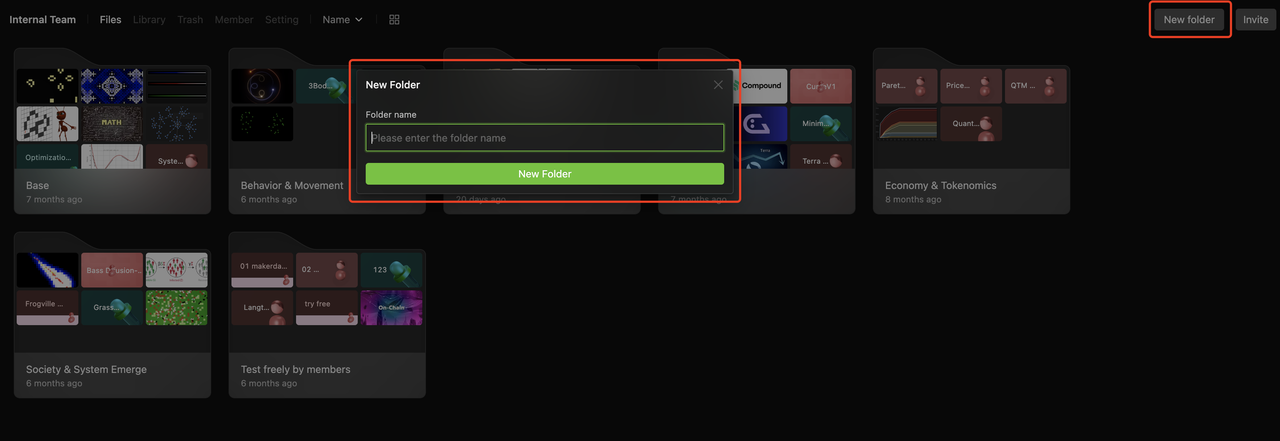
-
Enter the folder name and click the New folder button to create it. Note that you can't have two folders with the same name in one workspace.
6. Invite Members
See 4.4 Members in this chapter for details.
7. Workspace Content Area
This is the primary area of the interface that dynamically displays content based on your selections in the Management Navigation Sidebar (e.g., Recents, a specific Workspace) and the active tab in the Workspace Header (e.g., Folder, Library, Members).